How to Take Apart LG Portable Air Conditioner: A Step-by-Step Guide
To take apart an LG portable air conditioner, start by turning off and unplugging the unit for safety. Carefully remove the front grille and filters.
Then, unscrew and detach any screws or bolts holding the unit together, taking note of their locations for reassembly. Gently separate the housing panels, being careful not to damage any internal components. Clean or repair as needed, then reassemble the unit in the reverse order.
Remember to plug in and turn on the unit once the assembly is complete to ensure it is functioning properly.
Step 1: Ensure Safety And Preparations
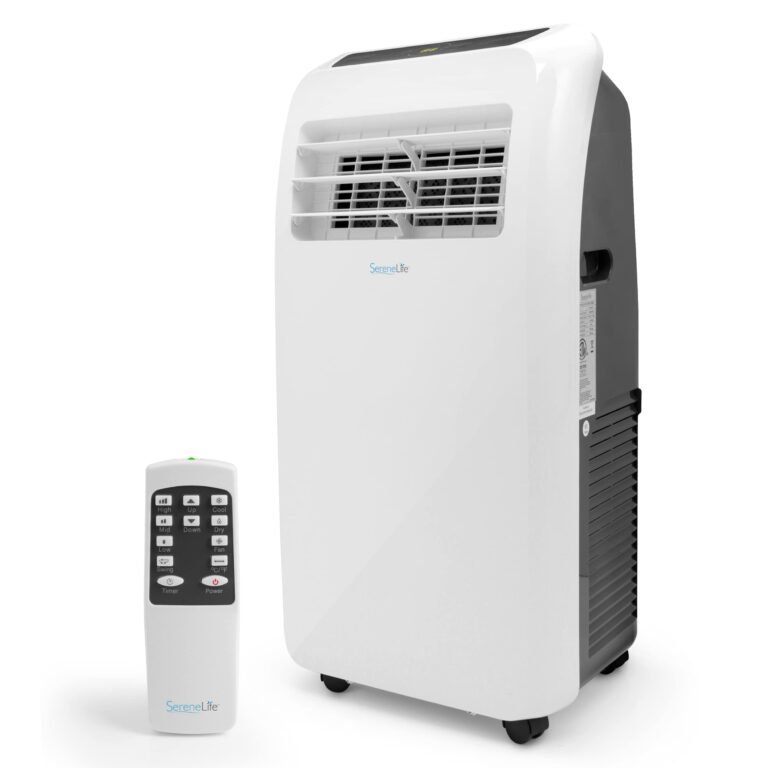
Taking apart an LG portable air conditioner involves a few important steps to ensure safety and preparation. First, make sure to turn off and unplug the unit to avoid any accidents. Gathering the necessary tools and equipment, such as a screwdriver, will make the process easier.
Once you have prepared, carefully remove the front grille and filters from the air conditioner. These can usually be detached by unscrewing or unlatching them. It is important to handle these components with care to prevent any damage.
If you need to clean the inside of the air conditioner, you can use a cleaning machine or a soft brush with a neutral detergent. For heavily contaminated parts, you may even need to wash them with water. Just make sure to follow the manufacturer’s instructions for cleaning and reassembly.
By following these steps, you can safely take apart an LG portable air conditioner for maintenance or cleaning purposes.
Credit: www.youtube.com
Step 2: Remove The Front Grille And Filters
When it comes to disassembling an LG portable air conditioner, it’s important to follow the correct steps to avoid any damage. In this blog post, we will focus on step 2: removing the front grille and filters. Firstly, make sure to turn off and unplug the unit for safety. Carefully detach the front grille, taking note of any screws or clips that may be holding it in place. Once removed, **clean the filters** by gently wiping away any dust or debris. If the filters are heavily soiled, you can wash them with water and a neutral detergent. Allow the filters to dry completely before reattaching them and securing the front grille back onto the unit. Taking the time to disassemble and clean the front grille and filters will ensure your LG portable air conditioner continues to work efficiently.
Step 3: Unscrew And Detach The Main Pcb Cover
When it comes to taking apart an LG portable air conditioner, step 3 involves unscrewing and detaching the main PCB cover. To do this, you will need to identify the main PCB cover and gather appropriate tools for the task. Using a screwdriver or other suitable tool, carefully unscrew the screws that hold the cover in place. Once the screws are removed, gently detach the cover from the air conditioner unit. Take care not to force or damage any components during this process. By following these steps, you will be able to access and perform any necessary repairs or maintenance on the main PCB of your LG portable air conditioner.
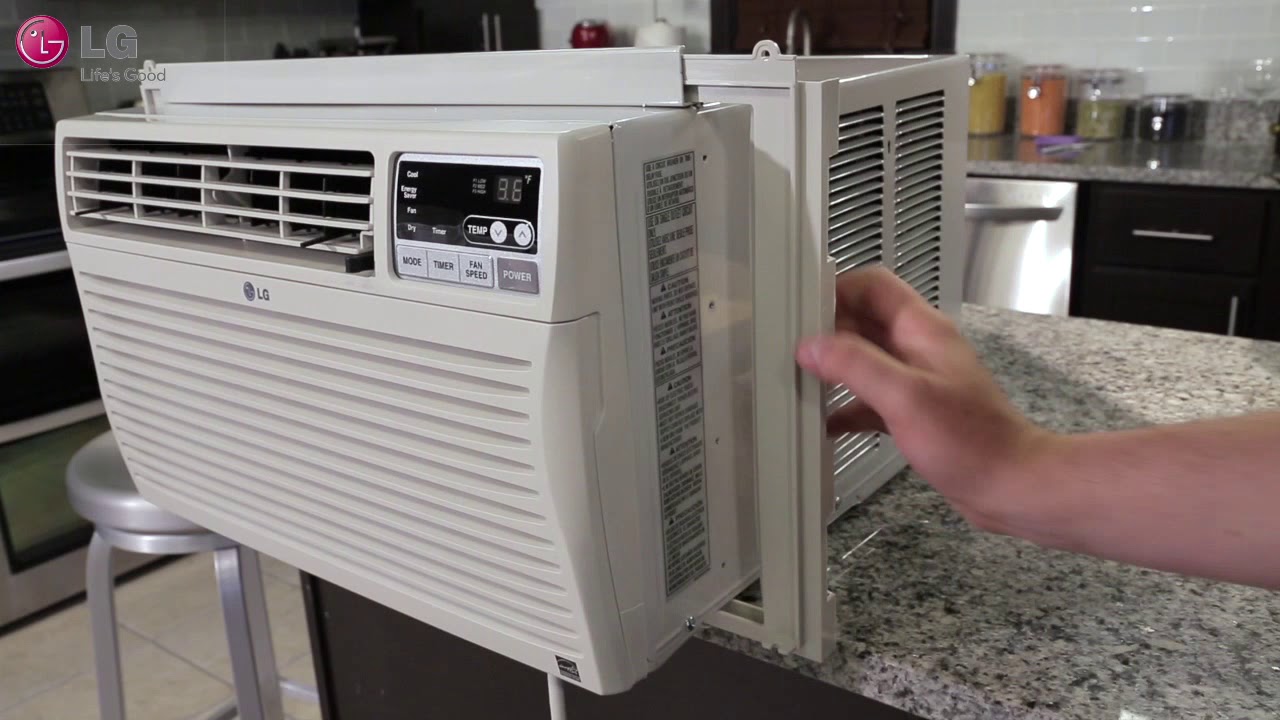
Step 4: Disassemble The Rear Case
If you’re looking to take apart your LG portable air conditioner, follow these steps to disassemble the rear case:
- Locate and remove the screws on the rear case.
- Carefully separate the rear case from the main unit.
By following these steps, you’ll be able to access and clean the internal components of your LG portable air conditioner more effectively. Remember to turn off and unplug the unit before starting the disassembly process to guarantee safety. Once the rear case is removed, you’ll have better access to the internal components for cleaning or maintenance.
Step 5: Clean And Maintain The Internal Components
Clean and Maintain the Internal Components:
After disassembling your LG portable air conditioner, it’s important to clean and maintain the internal components to ensure optimal performance and longevity. Start by cleaning the evaporator coils, condenser coils, and fan blades. These components can accumulate dust and debris over time, hindering the efficiency of the air conditioner. Use a cleaning machine or a soft brush to clean them. If they are severely contaminated, you can wash them with water and a neutral detergent. Additionally, check for any signs of damage or defects in the components. If you notice any, it’s crucial to get them repaired or replaced to prevent further issues.
Step 6: Reassemble The Portable Air Conditioner
| Step 6: | Reassemble the Portable Air Conditioner |
| Place the rear case back to the main unit and secure all screws and components in their respective positions. | |
Step 7: Test And Ensure Proper Functionality
Step 7: Test and Ensure Proper Functionality
Once you have reassembled the LG portable air conditioner, it’s time to plug it in and turn it on to verify that the unit is running smoothly. This step is crucial to ensure that all the components have been properly reassembled and the air conditioner is functioning as it should. Make sure to double-check that the power cord is securely connected and that there are no loose parts.
If the unit does not turn on or if you notice any unusual noises or issues, it’s recommended to consult the user manual or contact LG customer support for guidance. Testing and ensuring proper functionality of the portable air conditioner will give you peace of mind that your disassembly and cleaning process was successful and that your unit is ready to provide cool and comfortable air once again.
Step 8: Regular Maintenance And Cleaning Tips
Scheduling regular cleaning and maintenance for your LG portable air conditioner is crucial to ensure optimal performance. Following the manufacturer’s guidelines is essential for keeping your air conditioner in top condition.
Here are six guidelines to help you with regular cleaning and maintenance:
- Regularly clean the air filters to remove accumulated dust and debris. This will help maintain good airflow and improve cooling efficiency.
- Clean the condenser coils using a soft brush or a cleaning machine. If the coils are heavily contaminated, you can wash them with water and a neutral detergent.
- Inspect the drain pan and drain line for any blockages or clogs. Use a plastic scoop or a small brush to remove any debris.
- Check the fan blades and motor for any signs of dirt or debris. Clean them using a soft cloth or brush.
- Inspect the power cord for any damage and ensure it is securely plugged into the power outlet.
- Regularly check the seals and gaskets for any leaks or damage. Replace them if necessary to maintain proper insulation.
By following these guidelines, you can ensure your LG portable air conditioner remains clean and well-maintained, providing you with efficient cooling and comfort.
Frequently Asked Questions On How To Take Apart Lg Portable Air Conditioner
How Do You Take Apart An Lg Air Conditioner?
To take apart an LG air conditioner, first, turn off and unplug the unit for safety. Then, carefully remove the front grille and filters. Next, unscrew and detach any screws or panels holding the unit together. Proceed to separate the different parts of the air conditioner, ensuring to keep track of each component.
How Do You Clean An Lg Portable Air Conditioner?
To clean an LG portable air conditioner, first, turn off and unplug the unit for safety. Then, carefully remove the front grille and filters. Use a cleaning machine or soft brush to clean the coils. If they are heavily soiled, wash them with water and a neutral detergent.
How Do I Get Mold Out Of My Lg Portable Air Conditioner?
To get mold out of your LG portable air conditioner, start by turning off and unplugging the unit. Carefully remove the front grille and filters. Use a cleaning machine or a soft brush with water and neutral detergent to clean the affected parts.
Make sure to thoroughly dry them before reinstalling.
How Do You Unclog A Portable Air Conditioner Drain?
To unclog a portable air conditioner drain, follow these steps: 1. Turn off the air conditioner. 2. Remove the pipe cap and check for any debris in the drain. 3. Clear any visible debris and test for proper drainage. 4. Pour vinegar into the drain.
5. Replace the drain cap. Remember to use a plastic scoop if necessary.
Conclusion
To conclude, disassembling an LG portable air conditioner requires caution and careful steps. Start by ensuring the unit is turned off and unplugged for safety. Then, remove the front grille and filters carefully. Follow the necessary steps to detach any other components, if needed.
Remember to handle each part with care and refer to the manufacturer’s manual for specific instructions. By following these steps, you can safely disassemble your LG portable air conditioner for maintenance or repair purposes.